Drakensberg Passes | Bannerman Pass
Pass name: Bannerman Pass
Region: Giants Castle Nature Reserve, Central KZN Drakensberg
Distance from the parking to the top: 15km
Difficulty: Extreme (3)*
Scenery: Average for a Drakensberg Pass, i.e. exceptional by normal standards
Route type: Mostly trail, some boulder hopping
Risks: The pass can get iced up after a major snowfall, making it very dangerous. There is also a minor risk of rock falls.
* Most Drakensberg passes fall into the extreme difficulty category. To differentiate the “easy” ones from the harder ones, a rating out of 10 is included after the extreme rating.
Bannerman Pass was named after former British Prime Minister Sir Henry Campbell-Bannerman. It is said that, when viewed from the right angle, the cliffs just south of the pass resemble the profile of his face. Personally, I have never been able to see it, but nonetheless, that’s the origin.
 Bannerman Pass.
Getting There
Giants Castle is fairly easy to access if you have a car. However, there is no public transport that will get you to the offices.
From Durban/Pietermaritzburg: (if you are flying in, fly to Pietermaritzburg, if possible) Take the N3 North (signposted as Harrismith/Johannesburg) to the Nottingham Road offramp, turn right at the T-junction above this offramp. Follow the road to the town of Nottingham Road (about 15km). Turn right and follow the road through the town, following directions to Rosetta. As you reach Rosetta, there is a brown sign on the left to Kamberg; take this road and follow it till it comes to an end at the Giants Castle Offices.
From Johannesburg: Take the N3 South (signposted for Durban). Follow the highway till Estcourt, where you will see signs marked “Giants Castle”. Follow the signs to Giants Castle and at the end of the road, you will find the Giant’s Castle offices.
Route Description
After paying for your permits at the Ezemvelo offices, and signing the mountain register, head back up the road to the picnic site. If you see a sign warning you that crows might eat your windscreen wipers, you are in the right place!
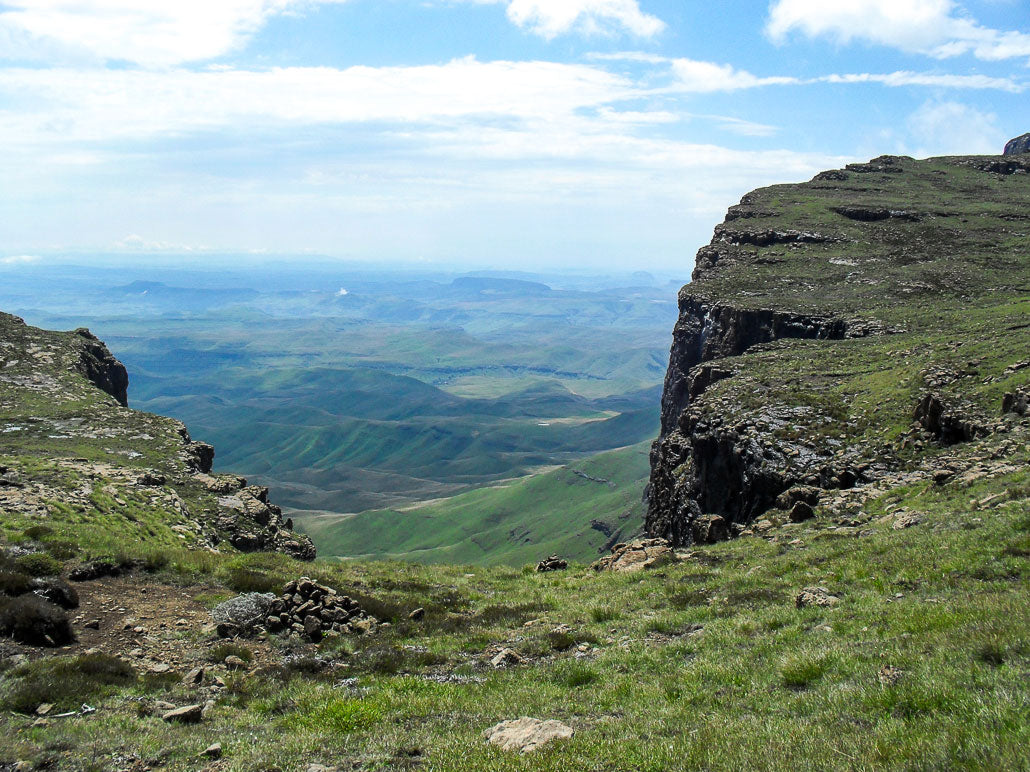
 Looking down the pass.
The trail starts off on concrete, as it steeply zigzags down towards the Bushman’s River. The river is crossed by a wooden bridge. Take the left split just after the bridge – it is signposted in case you aren’t sure. This section of the trail is roughly 6km long, climbing up three sections of ridge before levelling out at an altitude of around 2200m.
At the junction on the contour path, turn right – this too is signposted. There is a large tarn at this junction, which can be useful for cooling off in summer.
 The junction.
 The tarn.
The path will continue to Bannerman Hut. This hut sleeps 8 and can be booked online or at the Ezemvelo offices. It is the same price as an overnight hiking permit, currently R70 pppn, and no further permit is required (i.e. you either pay for an overnight hiking permit or the hut, not both).
 Bannerman Hut.
The hut is very rustic, offering little more than shelter from the elements. The beds are masonite, so you will need a mattress. There are no facilities, with water being collected from the nearby river. This water is generally drinkable, but it is best to collect it upstream of the hut as some people do not comply with hiking ethics regarding outdoor ablutions.
The pass starts from the hut. Initially there is a trail, but the trail soon fades away. The route is fairly obvious – one simply follows the gully until the top is reached. In summer, large waterfalls form above the pass, and the gully itself can become a river. This makes for great photos, but a rather wet experience!
 Bannerman Falls.
At roughly 2700m on the pass, on the south slopes, a large cave called Spare Rib Cave can be seen. A small shelter is visible from the gully – aim for this, and continue around the corner on the ledge till you are past this cave.
 Spare Rib Cave.
Finding the pass from the top can be tricky in poor weather – and is not feasible to explain. However, in clear weather, the pass cuts back so far into the ridge that it is very visible from a distance. From the north (Popple side), aim for the obvious saddle right of Gypaetus Point, and upon reaching the escarpment edge, follow the cliff line right till the summit is reached. From the south side (Langalibalele Pass/Sanqebethu) – refer to the instructions on the write-up about Langalibalele Pass.

For more information on hiking in the Drakensberg, check out Jonathan Newman’s introductory article: Drakensberg Passes | An Introduction to Drakensberg Hiking