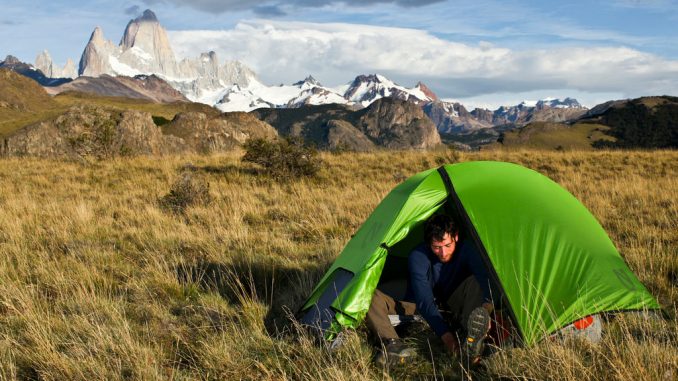
Hiking tents are special
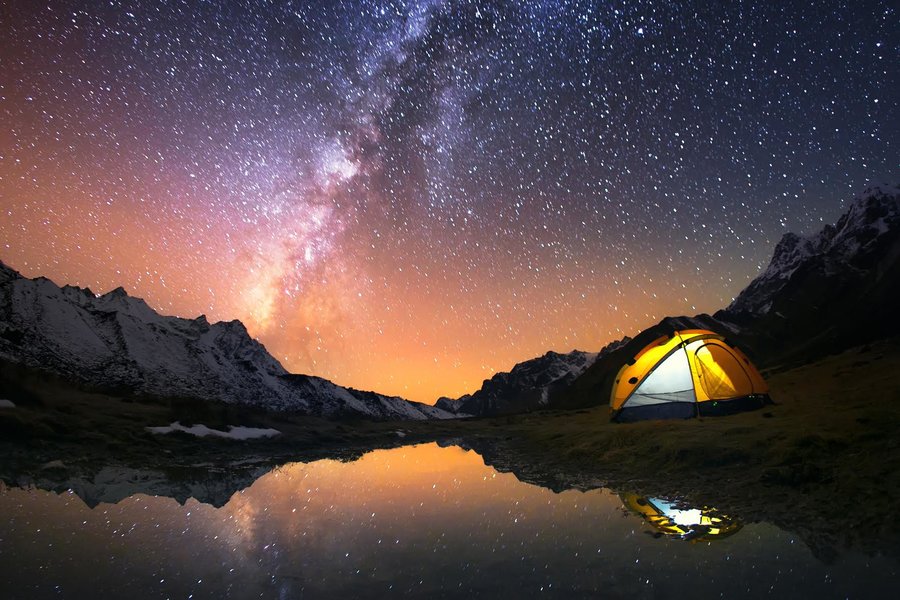
Hiking tents allow us to sleep in places where few dare to go. Places that are wild, inhospitable, exposed and incomparably beautiful – the proverbial 5-billion star hotel. For us to carry them there they need to be lightweight. And lightweight means small compared to normal camping tents. Small but strong. Aluminium or carbon fibre poles, advanced design and hi-tech materials gives us reliable shelters in the wild.
What to look for
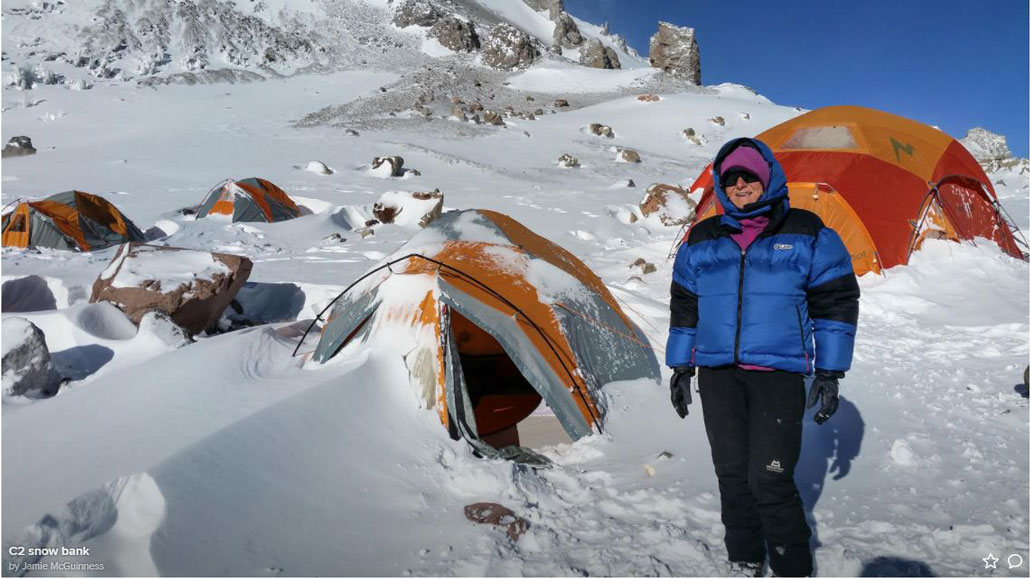
At the risk of stating the obvious, the first question is, “what do you need the tent for?” It is important to be specific here, since “hiking” is a small part of a bigger answer. The key to the bigger answer is the extremities of weather relating to wind, temperature and rain/snowfall you might experience. A tent that suffices for a summer hike on the Wild Coast might be completely out of its depth in the Drakensberg in winter. Generally, the higher you go, the greater the extremities. A useful guide is the “tree-line” test: if there are no trees, your entering the world of extreme cold and wind – unless it’s the Namib or Fish River Canyon – which means you should be looking at a 4-season tent.
The steps to getting the right tent will be by addressing the following categories:
- Dome or tunnel tent; single or double wall
- 3 or 4-season
- Number of persons
- Weight
- Manufacturer reputation
- Price
After having your answer for these you are unlikely to make a bad purchase, but you will probably still have a handful of choices – you will have to start comparing the detailed specifications, the accessories, your brand preference, after-sales service, etc.
Dome vs tunnel tents
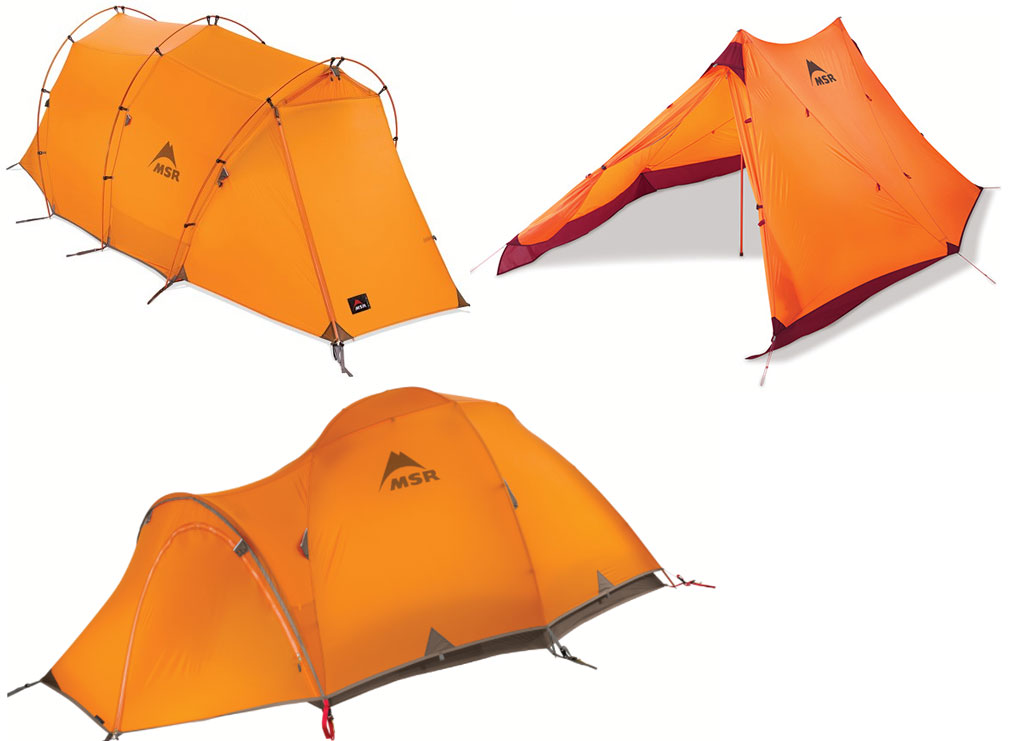
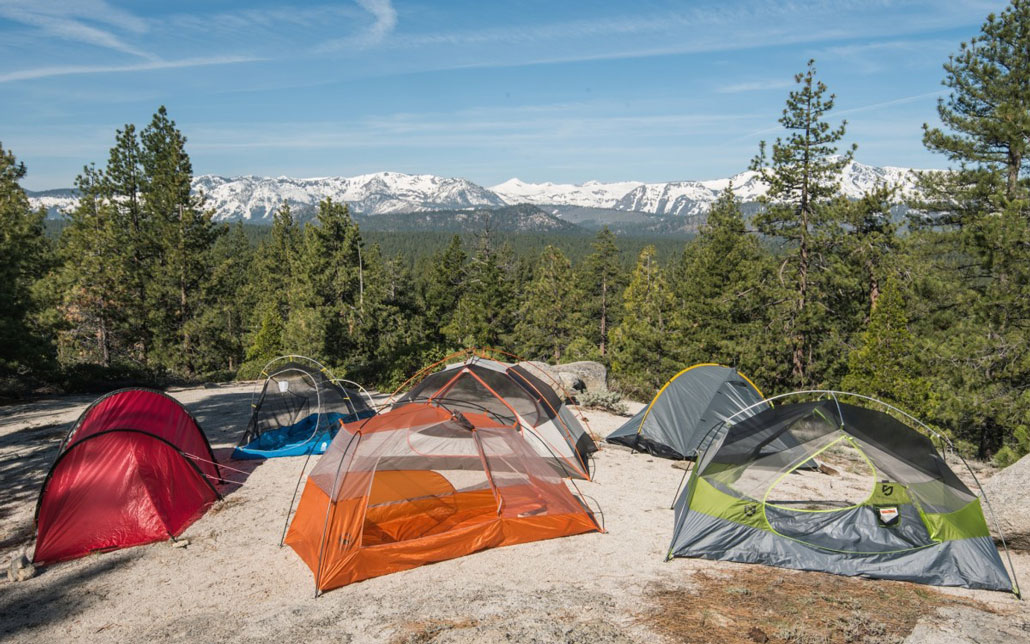
Most hiking tents are dome (aka geodesic) tents with a double wall design, and I will focus on these in the remainder of the article. For completeness’ sake, I will touch briefly on the different design fundamentals.
A dome tent relies on a structure of connected/crossing poles to stand upright, whereas a tunnel tent uses independent poles or hoops which requires the tent to be tensioned to provide structure. This is achieved with guy-lines attached to stakes, rocks or trees. Tunnel tents are generally lighter and more spacious since less poles are required, but are also vulnerable to cross-winds and requires suitable terrain to set it up – featureless bedrock or soft sand will generally not work for tunnel tents. You also get tepee-style tents and tarps which are rudimentary, ultra-lightweight shelters providing only a cover overhead (no floor). They are mostly used in fast-and-light missions and mild weather.
For dome tents a double wall design is standard: it comprises of an inner section which combines a waterproof floor (typically “bathtub” design) with a mesh/fabric canopy. The outer or flysheet is made from strong, waterproof material and goes over the tent inner – it is often bigger than the tent inner and the extra coverage provided is referred to as a vestibule. Double wall tents ventilate well due to the airflow between the inner and outer sections.
A single wall tent is a unitary structure made from breathable waterproof material and as such weighs considerably less than double wall tents. Double wall tents however ventilate better, have more usable space and set-up options, may be more durable and are cheaper for comparable sizes. Single wall tents are mostly used by mountaineers where weight saving and compact design is essential.
3 or 4-season
The “3/4-season” designation originated in countries where winter snowfall is the norm, and the 4-season designation, as opposed to 3-season, simply says the tent will be able to deal with the winter extremities. In South Africa, we don’t often get 4-season type extremities as it relates to temperature and snowfall, but in the high mountains the winds can be severe. In general, a 4-season tent will offer the following in addition to a standard 3-season spec (these terms are discussed further on in the article):
- More poles and pole crossings which makes the tent stronger.
- A fabric tent inner, as opposed to mesh, to provide insulation
- A stronger flysheet with a higher water column
- Will weigh more
For most hiking trails in South Africa a 3-season tent suffices, but for winter hikes in the likes of the Drakensberg or Hex river mountains a 4-season tent is recommended. A 4-season tent is more versatile as it can be used in 3-season conditions.
Number of persons
It is pretty straight forward. Keep in mind that the specs for most hiking tents are for medium-sized persons, and for lightweight tents a tight fit is normal. If you are on the larger side you may have to subtract a person from the manufacturer’s spec.
Weight
Benchmark weight for a lightweight 3-season, 2-person, tent is 2-3kg; add a kilogram per extra person and an extra kilogram if it’s a 4-season tent. The lightest tents shed weight via one or a combination of:
- high tech materials (and a commensurate price increase),
- reduced durability due to lighter fabrics
- or less functionality.
As an example, the MSR Carbon reflex 2-person tent features carbon-fibre poles and a 7D silicone coated flysheet, weighing-in at a mere 990grams, but will cost you close to R10 per gram saved!
Manufacturers will often specify different weights for a tent, depending on what you take along and how you set it up. The terminology isn’t standardised, but the types you get is:
- Packed weight – as you buy it: the tent including the tent bag, pegs, guy lines, patch kit and any other accessories.
- Trail weight – the weight of the tent only and minimum number of pegs and guy lines required to set it up.
- Fast & light – some tents offer the option to create a lightweight shelter from only the flysheet, poles and a footprint which will be significantly lower than the trail weight, but it will not be fully waterproof or keep bugs out.
Manufacturer reputation
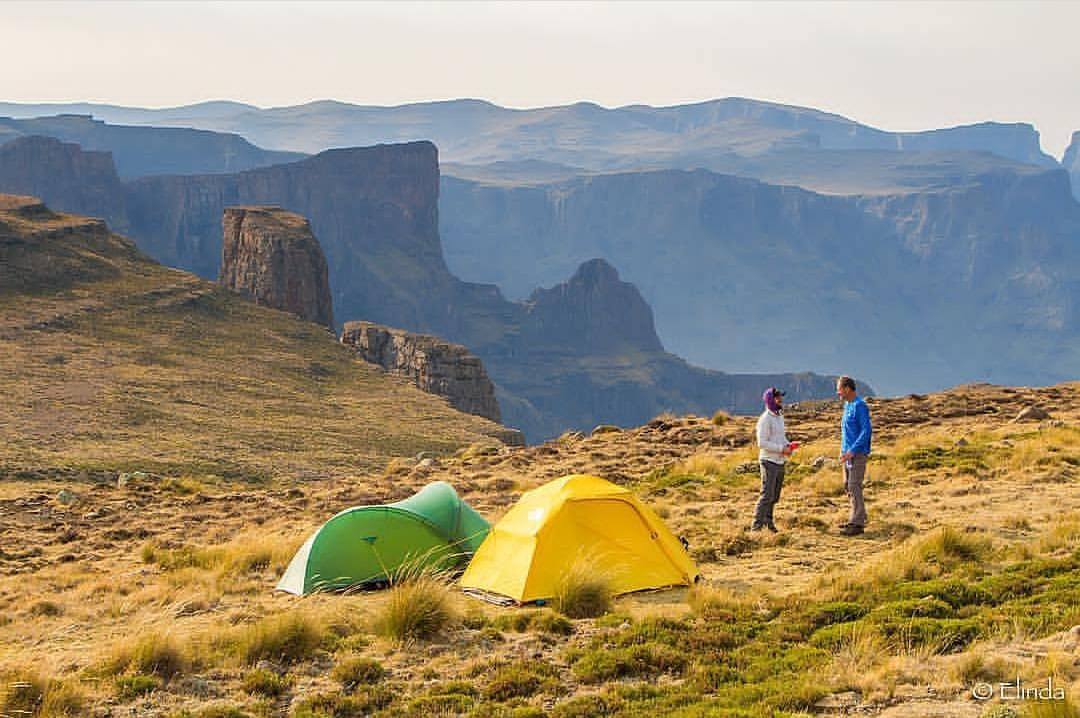
Like with cars, certain manufacturers are at the cutting edge of technology and design, but coming at a premium price. Others will focus on simplicity, reliability and value-for-money. Quality workmanship should be evidenced on closer inspection – what does the stitching, seam-sealing, zippers and clips look like? At the least you want a tent from a reputable manufacturer with a track record of making reliable hiking tents – especially if you venture into the high mountains.
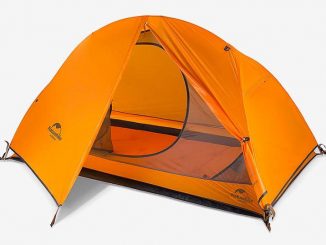
In South Africa we are blessed with local manufacturers such as K-way and First Ascent whose tents are affordable and adequate for our conditions. Affordable imported brands like Vango and NatureHike are also available.
For gear junkies or specialists, there are premium imported brands such as MSR, Mountain Hardwear, The North Face, Hilleberg (the Lamborghini of hiking tents and price tag to match) and Black Diamond.
Understanding the tent specs
Floor shape and size
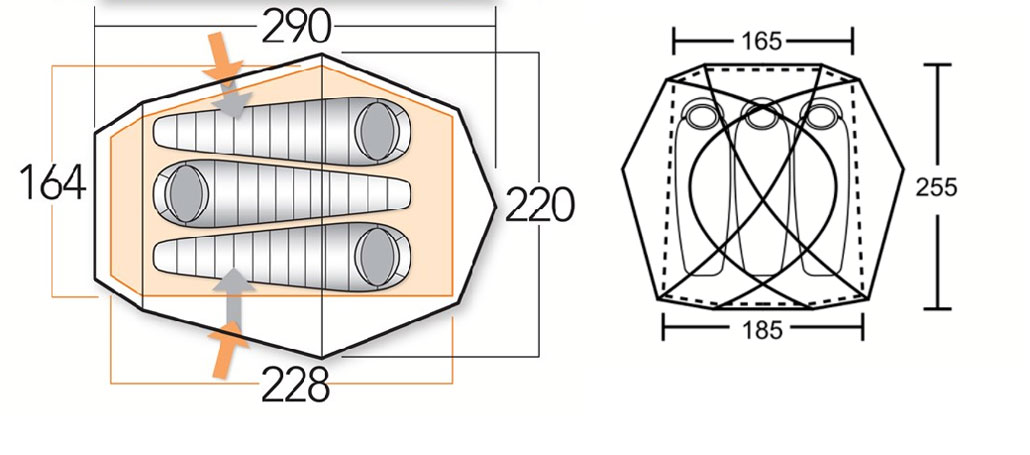
Have a good look at the tent’s floor diagram and sleeping configuration – especially if you’re tall. The number of square feet/meters don’t matter much unless you’ll fit comfortably length-wise into the tent. Keep in mind that approximately the first 15cm from the inward-curving tent wall is not useable sleeping space, so ideally you want the floor to be 30+cm longer than what you are.
Sleeping configurations may also be quite interesting – if you’re a fan of spooning, the tent width will be as important as its length.
In addition to the floor size, the size and number of vestibules are also of interest – all things equal I prefer a bigger vestibule to cook underneath in bad weather and to store backpacks overnight.
Height
Hiking tents are not made to stand upright in – the low profile saves weight and increases its ability to withstand fierce winds. Most tents will be in the order of 0,9m to 1,3m high, providing enough space to squat in.
Flysheet – material and water column
The spec for the flysheet will be something like this, taken from the MSR Stormking: “68D ripstop polyester, 1800mm polyurethane & DWR”. This may look like a line from a science exam nightmare, but it’s not too difficult to decipher if you break it down:
- Fabric thickness – a fabric’s denier (D) is a rough indicator of its weight per square area. The lightest tent flysheet fabrics are 7D and 4-season tents will go to 70D or more – to compare, expedition duffel bags are made of 1,000D. For a given material, the higher the D-rating the heavier but more robust and durable it is.
- Another rating you may come across is the thread-rating “T” which denotes the number of yarns or thread per square inch – for instance 210T polyester is bulls-eye for a tent fly.
- “Ripstop” refers to the material construction which keeps punctures and tears from getting bigger.
- Material – flysheets are made of either polyester or nylon, with high-tech cuben fibre /non-woven Dyneema a recent development (not discussed here due to its specialist nature). Polyester is the norm and performs well; nylon is generally stronger, more abrasion resistant and more expensive. Both materials require a coating to become waterproof.
- Hydrostatic head – this is often referred to as the water-column or waterhead, and indicates the degree of waterproofness. Imagine a glass pipe placed onto the stretched material. In this instance, you can fill it with water 1800mm deep before it will start to seep through. To compare, an umbrella will have a waterhead of approx 400mm. Most 3-season tents will have a waterhead of 1000mmm to 2000mm, with 4-season tents 1500mm to 3000mm. The tent floor will have a higher waterhead and denier to remain waterproof after extensive use.
- Coating (primary) – polyester and nylon needs a coating to be waterproof, and polyurethane is the standard, affordable option. The other option is silicone which has better qualities but will cost more. The high-end flysheet material is silicone coated nylon which is considerably lighter, more durable and more expensive than PU coated polyester. Some manufacturers use fabric coated with silicone on the outside and PU on the inside to save costs. A drawback of silicone is that it does not field-repair easily since tape does not stick to it.
- DWR – durable water-repellent secondary coating. You will find this designation on a waterproof clothing as well. Useful to help water roll-off the tent and let the flysheet dry faster, but not required for waterproofing. DWR coatings rarely lasts more than a year with frequent use. One can purchase spray-on DWR to replenish it.
Top tip: the Naturehike Cloud-up 2-person tent features a 20D nylon coated silicone flysheet with 3000mm waterhead, retailing for only R1800 at the time of writing – exceptional value!
Colour
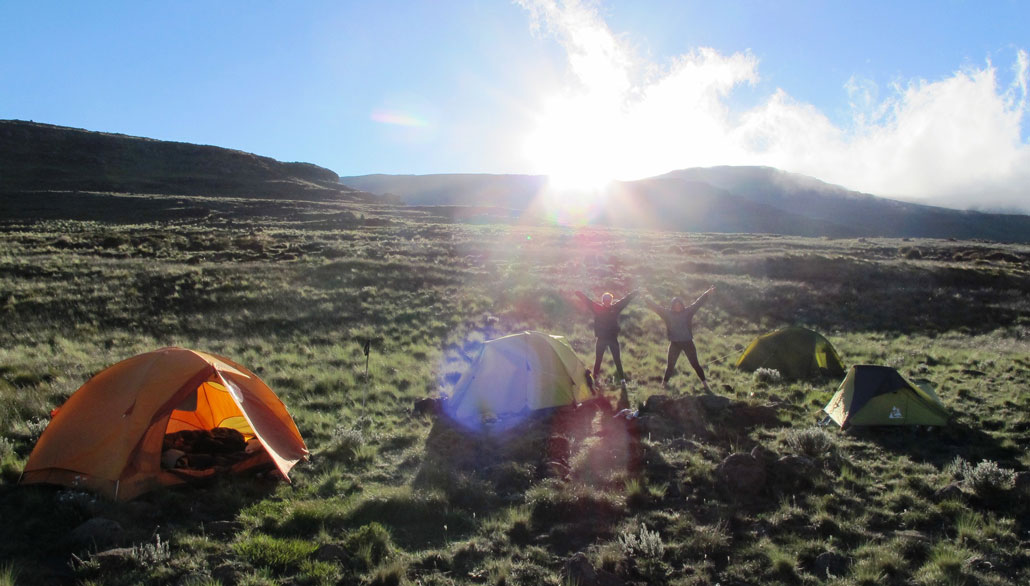
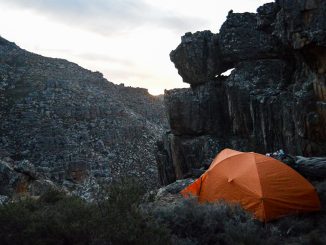
The colour is not a functional advantage as far as I’m concerned, but it may be a safety one. Bright colours such as orange can easily be seen and will help people to find you if assistance is needed. In some instances, you might want to remain unseen as well – like when hiking in an area where there’s been incidences of crime.
Some manufacturers use light, soothing colours like light blue or yellow to let more natural light in and create a calming effect, which helps with cabin fever if one is stuck in your tent for long periods in inclement weather.
Poles and entrances
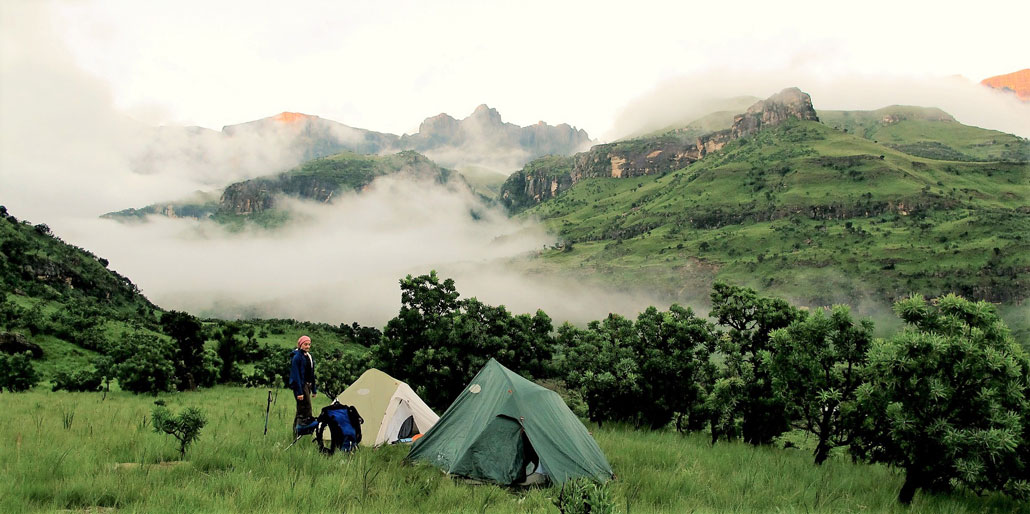
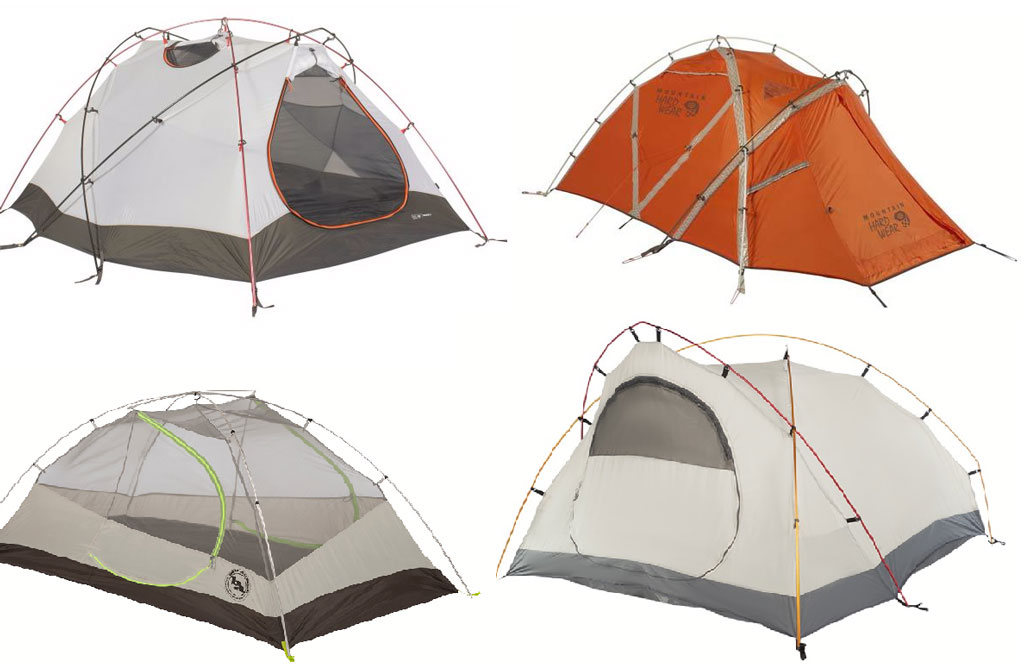
A dome tent’s strength relates primarily to its poles – not only the pole material, but also the number of poles and how they are configured – as a rule of thumb: the more pole crossings, the stronger the tent. The tent’s pole configuration will also have a bearing on where the entrances are – side or end. For 3-season tents entrance location seems to be very much a matter of preference, whereas with 4-season tents the pole configuration often necessitates entrances at the front and/or rear.
Aluminium is the standard material for hiking tent poles, with high tech carbon fibre for people more adept at counting grams than rands. I do not consider fibreglass poles appropriate for hiking in general, but if you’re expecting mild weather and are willing to carry some extra weight, your budget tent might just do the trick. For affordable tents, the pole description might only state e.g. “aluminium 8,5mm”, whereas premium tents will use specialist pole manufacturers such as DAC or Easton. Some manufacturers will also show the aluminium grading, with 7001 being the gold standard for yield strength. To learn more about the grading, read here: https://tentcatalog.wordpress.com/2014/03/15/tent-poles-what-to-look-for/
Footprint
I consider a tent-footprint to be very useful and it’s a pity that some manufacturers do not supply footprints for their tents. The footprint is a separate groundsheet made from tough material that matches the size and shape of the tent floor. It normally has holes for the tent poles so that it stays in place or can be used for a floor in a fast-and-light set-up. The footprint protects the tent floor against abrasion and punctures, and can greatly increase your tent’s lifespan – especially if you camp on rocky terrain. I have made my own footprints by simply cutting a groundsheet to fit the dimensions of a tent’s floor.
Pegs and guy-lines
Lightweight aluminium pegs are the standard (steel pegs are cheaper but weigh a lot more). Be sure to check that you have enough pegs for a proper set-up i.e. staking down the tent and guy-lines. Annoyingly some manufacturers skimp on pegs and guy-lines and you may have to buy extra.
You also get specialist stakes for soft terrain like snow or sand, but these are generally not required in SA. In sandy areas, one can often tie the tent down using rocks or even slinging tufts of grass.
What else?
I have not exhausted all the considerations relating to hiking tents, but the ones discussed here will help you make an informed decision. There are all sorts of accessories and interesting design features that may add value to your hiking experience. Spend some time on the internet and read-up on different manufacturer’s websites, tent reviews or the many other quality articles. Happy shopping!


excellent article Willem. So now the only question about the Naturehike tent is whether it would last. The specs are certainly impressive. Would be good to hear other opinions of people who have owned it for a few years.
Naturehike is brand new in SA. We’ll do a gear review on the tent soon. But long-term reviews will take a while to surface. Does seem like excellent value.
Hi you do get hiking tents where you can install the outer first thus allowing you to put up the tent in the rain for example without getting the inner sopping wet I havent seen an example of this advertised?
Vango tents have a pole system that allow you to do this. The tent poles run through the outside of the flysheet and tent-inner is pre-clipped to the inside of the fly, keeping it dry while ptiching. You can detach the inner if you want to. They’re available from a couple of outdoor retailers in South Africa. Here’s a nice review of the Vango Halo 200: http://www.songofthepaddle.co.uk/forum/showthread.php/35433-Vango-Halo-200-Tent
Uitstekkende artikel met baie handige wenke.
goeie dag
ek gaan Sept die Tankwa Camino stap en weet glad nie wat se tent sal reg wees nie.
gee my asb raad
Mariet
Hello Mariet ek gaan ook sie Tankwa Hantam stap en het ook geen benul van n’ tent nie. Laat my seblief weet as jy die antwoord kry Tonya.vanaarde@gmail.com
Hi Tonya!
Wat het jy toe op die ouend gebruik?
Baie groete
Where can I buy aluminium tent poles to replace broken fiberglass ones, Cape Town?
Christy’s Diepriver. CT
Christy’s sports 0217125020
You can order replacement kits from Amazon, but it might be worth chatting to First Ascent to hear if they will make up a pole for you. I don’t know of any local suppliers. Maybe post your question on the forum for more input from other hikers: https://community.hikingsouthafrica.co.za/
Loved the article thank you! I already have the Nature Hike but just a note that it is not great for erecting in sand! The pegs slip straight out.
Great article